
Match the replacement lamp to your system’s model number, or order the exact part-and-sleeve combo your manufacturer specifies, and plan to swap it once a year regardless of how bright it still looks. A glowing lamp is not proof of germicidal output. If you can’t confirm your model, check the label on the stainless chamber or reach out to a water treatment professional before ordering anything.
TL;DR:
- Always match your UV lamp’s length, base type, and wattage to your specific system model to ensure proper fit and performance.
- Replace your UV lamp every 9 to 12 months regardless of brightness, relying on system alerts, not visual cues, to determine end-of-life.
- Clean the quartz sleeve during every lamp change to prevent mineral scaling that reduces UV transmission and consider replacing it every few years.
- Use gloves when handling lamps to avoid oil transfer and always verify the system’s indicator light confirms operation after installation.
- Consult your chamber label or manual to find the correct replacement part, and consider professional installation if the sleeve is cracked or wiring appears questionable.
Table of Contents
- How do you find the right UV lamp replacement?
- How do you change a UV lamp step by step?
- What safety steps and disposal rules apply to UV lamps?
- How do you clean and maintain the quartz sleeve?
- When should you replace a UV lamp, and what are the warning signs?
- What if the new lamp doesn’t work right after installation?
- How can Pure Wave Water help with parts and installation?
- First-person take: what actually matters here
- Where to buy the right UV lamp and get it installed properly
- Sources
- FAQ
How do you find the right UV lamp replacement?
The chamber label carries the answer. Every residential UV unit has a stainless steel chamber with a printed label, usually near the inlet or outlet fitting, showing the model number and sometimes the exact lamp part number. If the label has worn off, your owner’s manual will list the same information, and most manufacturers publish model lookup tools on their support pages.
Lamp families aren’t interchangeable just because they look similar. You need to match three things:
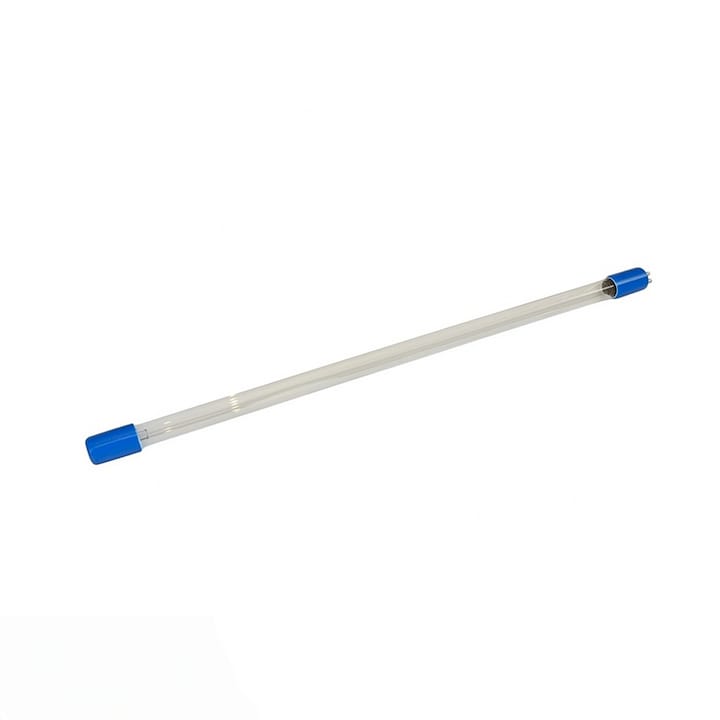
- Length and base type — compact PL-S lamps, T5 tubes, and single or double-ended lamps all use different sockets and won’t fit another housing.
- Wattage — a lamp rated for a smaller residential unit won’t deliver the dose a whole-home system needs.
- Lamp-only versus lamp-and-sleeve — if your water is hard or the quartz sleeve shows scale, clouding, or hairline cracks, order the combo kit rather than the lamp alone.
Pure Wave Water stocks several exact-match SKUs for common residential systems, including the UV Dynamics 400434 UV Lamp, the Viqua 602810-102 UV Lamp & Quartz Sleeve combo, and the Viqua Arros 15 (VA15LU) UV Lamp & Quartz Sleeve kit. Cross-check your model number against these before ordering.
How do you change a UV lamp step by step?
Replacing a UV lamp is a straightforward job for most homeowners, but the sequence matters. Skip a step and you risk a leak, a broken sleeve, or a shock hazard.
- Cut power and isolate the unit. Switch off the breaker or unplug the system entirely. Don’t rely on the unit’s own power switch alone.
- Let it cool. Wait about 15 minutes after shutdown. UV lamps run hot, and the quartz sleeve holds heat longer than you’d expect.
- Glove up. Skin oils from bare hands etch the glass on some lamp types and shorten lamp life. Cotton or nitrile gloves solve this.
- Open the housing. Follow your unit’s specific procedure to remove the retaining cap, then slide out the lamp or lamp-and-handle assembly. Some designs (like Honeywell’s UC100) use a combined bulb-and-handle piece rather than a bare lamp, and the installation sheet walks through the exact release mechanism.
- Install the new lamp. Seat it fully into its socket, matching the orientation shown in your manual.
- Reassemble and restart power. Reinstall the retaining cap, confirm no gaps at the seal, then restore power.
- Verify through the indicator window. Never look directly at an operating UV lamp to check it. Confirm operation through the built-in indicator light instead.
- Reset the timer if required. SmartLamp and similar systems track lamp hours electronically. If yours does, follow the manual’s reset sequence so the end-of-life alert doesn’t trigger early.
Pro Tip: Take a photo of the lamp orientation and wiring before you remove the old one. It takes ten seconds and saves you from guessing during reassembly.
What safety steps and disposal rules apply to UV lamps?
The UV-C light these lamps produce is invisible and can burn eyes and skin in seconds of direct exposure. Never look at a lamp while it’s powered. Confirm it’s working through the indicator light, not by peeking at the tube.
If a lamp breaks during handling, treat it like any broken fluorescent bulb:
- Ventilate the room for about 30 minutes before cleanup.
- Wear gloves and avoid touching fragments with bare skin.
- Collect all pieces, including fine glass dust, in a sealed bag.
- Don’t vacuum the area, since that can spread mercury vapour.
Many UV lamp types contain a small amount of mercury, which is why Environment and Climate Change Canada directs households toward hazardous waste depots or lamp recycling programs rather than the regular trash. If you’re considering a UVC LED retrofit tube to avoid mercury altogether, know that these are built for enclosed, interlocked systems only. They typically need a ballast or driver swap and aren’t a simple drop-in for most residential water units.
How do you clean and maintain the quartz sleeve?
Mineral scale on the quartz sleeve blocks UV light before it ever reaches the water, which makes sleeve care as important as the lamp itself. Hard water deposits build a hazy film on the sleeve surface over months, and that film cuts UV transmission even when the lamp inside is brand new.
Clean the sleeve every time you change the lamp:
- Wipe it down with white vinegar or a manufacturer-recommended descaling cleaner, letting it soak for a few minutes on stubborn scale.
- Inspect for scratches, permanent clouding, or corrosion. Replace the sleeve if you see any of these, since polishing won’t restore clarity to etched quartz.
- Check the o-rings and seals during reassembly. A seal that’s compressed, cracked, or stiff should be replaced rather than reused, since misaligned or worn seals are a common source of leaks after a lamp swap.
Pro Tip: Keep a spare o-ring kit on hand with your replacement lamp order. It costs a few dollars and saves an emergency call if the old seal crumbles during removal.
Plan to replace the sleeve itself every few years, or sooner if scaling keeps returning between cleanings.
When should you replace a UV lamp, and what are the warning signs?
Most manufacturers recommend replacing a residential UV lamp every 9 to 12 months, regardless of how the lamp looks. Treat this as a calendar reminder, not a wait-and-see decision.
That’s because UV lamps are engineered with protective coatings that keep visible light output fairly steady even as germicidal UV-C output quietly declines underneath. A lamp can glow at full brightness while delivering an insufficient dose to properly disinfect your water. Rely on your system’s scheduled interval or its end-of-life indicator light rather than eyeballing the tube.
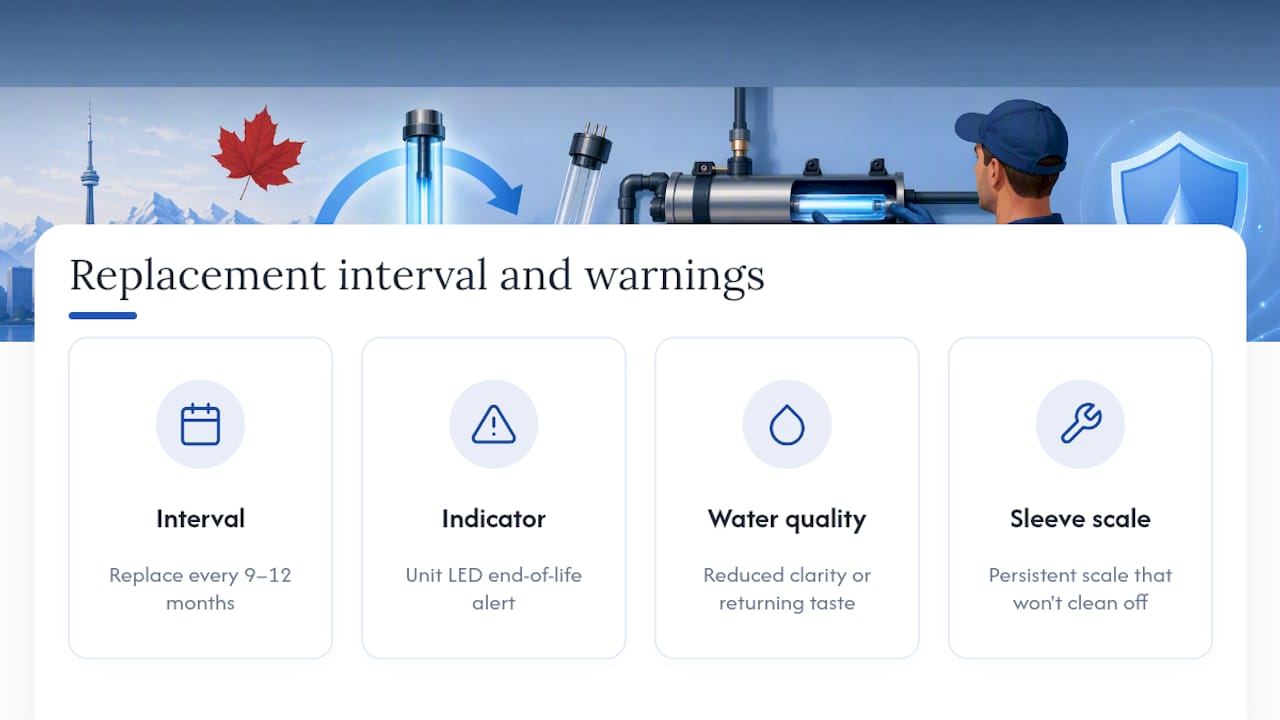
Beyond the calendar, watch for reduced water clarity, a change in taste or odour returning after months of clean water, an LED end-of-life alert on the unit itself, or heavy scale buildup on the sleeve that won’t clean off.
What if the new lamp doesn’t work right after installation?
A few issues cover most post-replacement problems:
- Lamp won’t light. Check that the breaker is on, the lamp is fully seated in its socket, and the ballast or driver hasn’t failed. A blown fuse inside the control box is also a common, easy fix.
- End-of-life indicator still shows. Follow your manual’s reset sequence, since some systems need a manual reset after any lamp swap. If the alert persists, confirm you installed a genuine OEM lamp and not a mismatched substitute.
- Leaks after reassembly. Shut off the water supply immediately, reseat the o-rings and end caps, and test again at low pressure before returning to full flow.
Call a licensed technician if you spot exposed wiring, a cracked quartz sleeve, or you’re simply not confident the new lamp is seated correctly. Electrical faults and sleeve damage aren’t worth troubleshooting solo.
How can Pure Wave Water help with parts and installation?
Since 1995, technicians have helped Georgetown-area homeowners solve water problems, including matching the right UV lamp to the right system. Free in-store water testing can confirm whether reduced clarity is a lamp issue or something else entirely, and exact SKUs for common residential systems are stocked.
DIY replacement works fine for straightforward lamp swaps. Call in a technician when the sleeve is cracked, wiring looks questionable, or your system is a less common commercial-style unit. Confirm your model, then order online or visit the store to move forward.
First-person take: what actually matters here
Match your model, replace annually, and clean the sleeve while you’re in there. Everything else in this guide supports that one habit. If any step feels uncertain, especially around electrical work or a cracked sleeve, call a professional rather than guessing.
— CloudSprout16
Where to buy the right UV lamp and get it installed properly
If you’ve read this far, you already know the two things that matter: the right part number and a technician who won’t leave a seal loose. Local services include free water testing to confirm whether your lamp is actually the problem, plus installation by technicians who service both the systems sold at the store and most major brands already installed in homes.
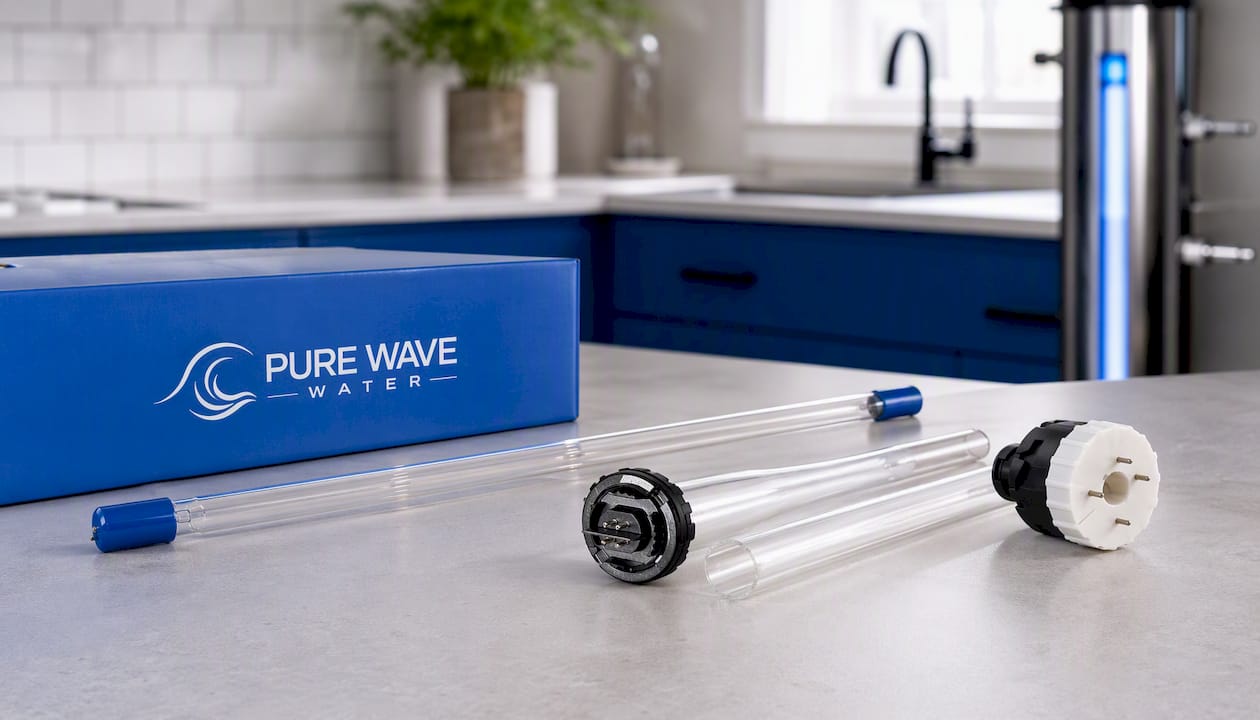
Three exact-match SKUs cover the most common residential systems: the UV Dynamics 400434 UV Lamp, the Viqua 602810-102 lamp and sleeve combo, and the Viqua Arros 15 lamp and sleeve kit. Browse the full replacement parts shop if your model isn’t among these three, or check the complete filtration and softener lineup for other water treatment needs. If you’d rather have it done professionally, book an installation or repair appointment, or start with a free water test to pin down exactly what your system needs before you spend a cent on parts.
Sources
For further reading, consult Environment and Climate Change Canada’s mercury and lamp strategy, manufacturer leaflets like Signify’s TUV PL-S documentation, and the WQA directory of certified water professionals for complex installations.
- Environment and Climate Change Canada — strategy on lamps and mercury
- TUV PL-S (Signify) product leaflet
- UC100 Ultraviolet system — replacement bulb/handle assembly (installation sheet)
- UV lamp replacement product/specification page (AMPAC Water Systems)
FAQ
How often do UV lamps need to be replaced?
Most residential UV lamps need replacing every 9 to 12 months, even if the lamp still glows. Set a calendar reminder tied to your install or last replacement date rather than judging by appearance.
How do I replace a UV lamp?
Cut power, wait roughly 15 minutes for the lamp to cool, then remove the housing and old lamp following your unit’s manual. Install the new lamp, reseal the housing, restore power, and confirm operation through the indicator light rather than looking directly at the lamp.
What can I use as a replacement for a UV light bulb?
Always use the exact lamp specified for your model, matched by length, wattage, and base type. Some systems can accept a UVC LED retrofit tube, but only in enclosed, interlocked units, and typically after a driver or ballast change.
Where can I find replacement UV bulbs for my UV filter?
Check your chamber label or manual for the model number, then order the matching part. Pure Wave Water carries several exact-match SKUs, including the Viqua Arros 15 lamp and sleeve kit, available online or in-store.
Do I need to replace the quartz sleeve every time I change the lamp?
Not always, but clean it every time you change the lamp, since scale buildup blocks UV transmission even with a fresh lamp installed. Replace the sleeve itself if you see scratches, clouding, or corrosion, or roughly every few years.

Pure Wave Water shares educational content about water treatment, water softeners, reverse osmosis systems, UV purification, and filtration solutions. Our guides help readers understand water quality concerns, explore treatment options, and make informed decisions about their water treatment needs.