The fastest way to know if your water is hard is to check your municipal water quality report first if you’re on city water, or use a hardness test strip for a quick estimate. A soap test gives you a quick yes or no with items you already have at home. Strips give you a rough range. A titration kit or lab test gives you the precise number you need before buying a softener. Most homeowners should start with a strip or their utility’s report, then move to titration only if they’re sizing equipment.
TL;DR:
- Using a titration kit for accurate measurement is recommended before sizing a water softener, as DIY methods can give inconsistent results, especially with old or expired strips.
- Private well users should always conduct physical tests, since they do not have access to reliable utility reports and their water is often more mineral-rich.
- Hardness levels over 10 GPG or 180 mg/L indicate that a softener is strongly advised to prevent scale formation and improve water quality.
- Accurate testing and professional assessment help prevent undersized or oversized softeners, which can waste resources or fail to solve hard water issues.
Table of Contents
- How to spot signs of hard water around the house
- Practical, step-by-step home tests: soap test, test strips, liquid drop kits and TDS meters
- How to use your municipal water report and when to order a lab test
- Reading hardness numbers, classification and what to do next
- How Pure Wave Water helps: free testing, services and when to bring in a technician
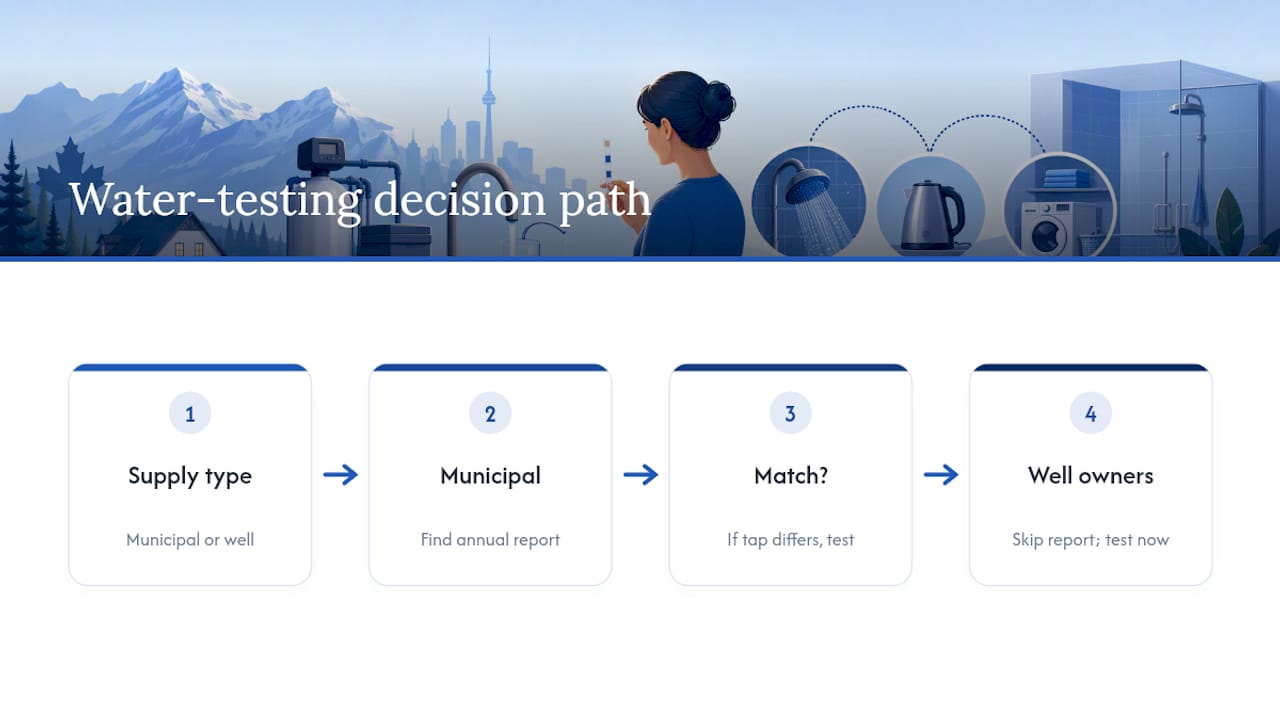
- Checking your municipal water quality report before you test anything else
- Common water hardness testing mistakes to avoid
- Next steps: book a free test or shop the store
- Sources
- FAQ
How to spot signs of hard water around the house
Before you even open a test kit, your home is already telling you something. Hard water leaves fingerprints everywhere it touches, and once you know what to look for, spotting it takes about ten seconds.
- White, chalky scale around faucets, showerheads, and kettle elements
- Spotting on glassware and cutlery straight out of the dishwasher
- A filmy residue on shower doors and tile that won’t rinse away
- Soap and shampoo that refuse to lather properly
- A grey, waxy scum ring in the bathtub
If you’re on a private well, expect these signs to show up faster and more severely, since well water often carries higher mineral loads than treated municipal supplies. City water tends to be more consistent day to day, but treatment plants don’t remove calcium and magnesium as part of standard filtration, so hardness passes right through to your tap regardless of the source.
Practical, step-by-step home tests: soap test, test strips, liquid drop kits and TDS meters
Once you’ve spotted the signs, it’s time to put a number (or at least a verdict) on your water. Each method below trades cost and speed for precision, so the right one depends on what you’re trying to decide.
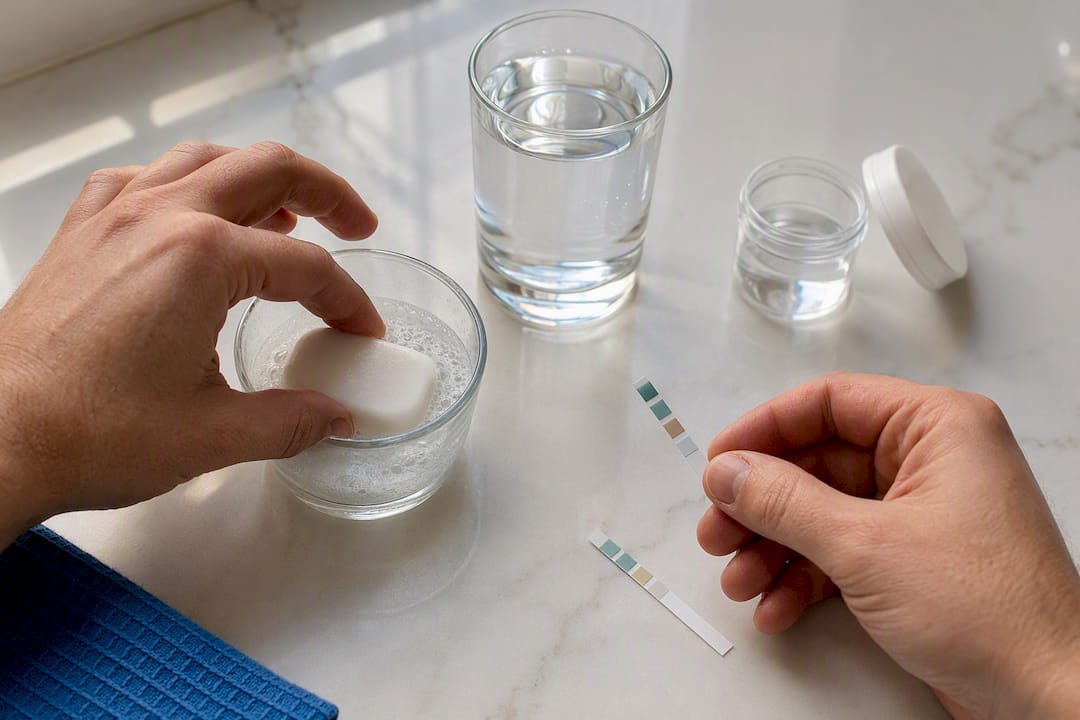
- Soap test — Fill a clear bottle one third with cold tap water, add about 10 drops of pure liquid soap, cap it, and shake for 10 seconds. Fluffy, standing suds mean soft water. Little or no foam, or a milky, cloudy appearance, points to hard water. It costs nothing and takes two minutes, but it won’t give you a number.
- Test strips — Dip a strip into a fresh sample, hold it steady for the time printed on the bottle, then match the colour change to the chart. A box of 50 or more strips usually runs $8 to $15, delivers a reading in about a minute, and lands within roughly ±1 to 2 GPG of the true value for most brands. That margin is fine for deciding whether you have a problem, but not tight enough for final equipment sizing.
- Liquid drop titration kits — Add reagent to a measured sample one drop at a time, counting drops until the water changes colour. Each drop typically equals one grain per gallon, and precision runs around ±0.5 GPG. Multiply GPG by 17.1 to convert to ppm. This is the method to reach for when you actually need an exact figure, not just a category.
- TDS meters — These measure total dissolved solids by conductivity, giving you an overall mineral reading in ppm. They’re handy for spotting general water quality trends, but they can’t separate calcium and magnesium from sodium, chlorides, or anything else dissolved in the water, so they’re not a reliable stand-in for a real hardness test.
Sampling technique matters as much as the method you pick. Draw your sample from cold water at the tap closest to where the supply enters the house, before any softener, filter, or point-of-use device, since testing water that’s already been treated will give you a falsely soft reading. Check the expiry date on test strips too; old reagent pads drift out of calibration and can under-report hardness by a noticeable margin.
Pro Tip: Run the soap test and a strip test side by side the first time. If they disagree wildly, that’s usually an expired strip or a sample drawn too close to a softener bypass valve, not a flaw in either method.
How to use your municipal water report and when to order a lab test
If you’re on a municipal supply, skip the buckets and reagents. In Ontario, municipal drinking water systems must publish an annual water quality report under O. Reg. 170/03, and hardness is almost always listed among the tested parameters. A quick search for your city or town’s name plus “water quality report” usually gets you there, and calling the utility directly works just as well if the report isn’t posted where you’d expect. In Georgetown, for example, well-based and lake-based water differ sharply in hardness.
That said, a utility average has limits. It reflects a system-wide sample, not necessarily the water sitting in your specific pipes, and older plumbing can add its own mineral contribution.
- Well water users have no utility report to check, so a physical test is their only option
- Inconsistent DIY results (strip says moderate, soap test says very hard) are worth resolving with a lab
- Anyone screening for contaminants beyond hardness, like iron, nitrates, or bacteria, needs a lab panel anyway
A certified lab analysis typically costs somewhere between $30 and $200 depending on how many parameters you’re testing, with results back in five to ten business days. For well owners, it’s the closest thing to a definitive answer.
Reading hardness numbers, classification and what to do next
Hardness gets reported two ways: grains per gallon (GPG) and milligrams per litre, which is the same as parts per million (ppm). One GPG equals 17.1 ppm, so a strip or titration result in GPG converts easily if your softener spec sheet uses ppm instead.
The U.S. Geological Survey classification, widely used across North America, breaks hardness into four bands:
| Classification | mg/L (ppm) | Grains per gallon (GPG) | Typical action |
|---|---|---|---|
| Soft | 0–60 | 0–3 | No treatment needed |
| Moderately hard | 61–120 | 4–7 | Conditioner or monitor |
| Hard | 121–180 | 7–10 | Consider a softener |
| Very hard | Over 180 | Over 10 | Softener recommended |
The most common mistake homeowners make is sizing a softener off a soap test or a rough strip reading. A titration kit or lab result is worth the small extra cost, because an undersized system regenerates constantly and an oversized one wastes salt and water. Testing after an existing softener, rather than the incoming supply, is the second most common error and it produces a falsely reassuring number every time. If your results keep shifting between DIY methods, that’s your signal to bring in a professional or order a full lab panel before spending money on equipment.
How Pure Wave Water helps: free testing, services and when to bring in a technician
Since 1995, Pure Wave Water has helped homeowners across Georgetown and Halton Hills pin down exactly what’s in their water, from hardness and iron to the sediment and odour issues that often ride along with it. The store offers free in-store water testing, so you can bring in a sample and get an initial hardness reading without buying a test kit.
That free test typically covers:
- Hardness (with a precise GPG or ppm reading, not a strip’s estimated range)
- Iron content, a common culprit behind staining in Halton Hills wells
- Basic water quality indicators tied to taste, odour, and clarity complaints
From there, the recommendation depends entirely on what the numbers show. Sometimes that means a softener; sometimes it’s a simple filter change. Our technicians also handle water softener installation, parts replacement, and ongoing maintenance, plus sizing guidance if your DIY results were inconsistent. If you’ve run a strip test twice and gotten two different answers, or you’re on a well and have never had a full panel done, that’s the point to book an in-person visit rather than keep guessing at home.
Checking your municipal water quality report before you test anything else
If you get your water from a city or regional utility, the first move costs nothing and takes about five minutes: find the report. Municipalities are required to publish water quality data annually, and hardness is one of the standard figures included, usually reported in mg/L or ppm.
Start with your municipality’s website and search for “water quality report” or “annual drinking water report.” If you can’t find it posted, call your public works or utilities department directly. Most customer service lines can read you the current hardness figure over the phone in under a minute, since it’s one of the questions they field constantly.
Keep in mind that a utility figure is a system average, drawn from treatment plant sampling, not a reading from the tap in your kitchen. Distance from the treatment plant, the age of local water mains, and even seasonal shifts in source water can nudge your actual tap reading slightly from the published average. That’s usually a minor difference, a few GPG at most, but if your fixtures show heavier scale buildup than the utility number would predict, it’s worth following up with a strip test at your own tap rather than assuming the discrepancy is nothing.
For well owners, none of this applies. There’s no utility report to check, which is exactly why a physical test, whether that’s a strip, a titration kit, or a full lab panel, isn’t optional. It’s the only way to get an answer at all.
Common water hardness testing mistakes to avoid
The mistake we see most often isn’t a bad test. It’s skipping straight to buying a softener based on a guess or a neighbour’s number. Always sample water before it hits any existing treatment, use strips for a routine gut check, and save titration or a lab panel for the moment you’re actually about to size equipment. A measured hardness result can prevent an expensive sizing mistake.
Next steps: book a free test or shop the store
Pure Wave Water is the straightforward next step once you’ve confirmed your water is hard, whether that confirmation came from a strip, a titration kit, or the free in-store test itself. Skip the guesswork on sizing and get a technician to match the solution to your actual numbers, not an estimate.
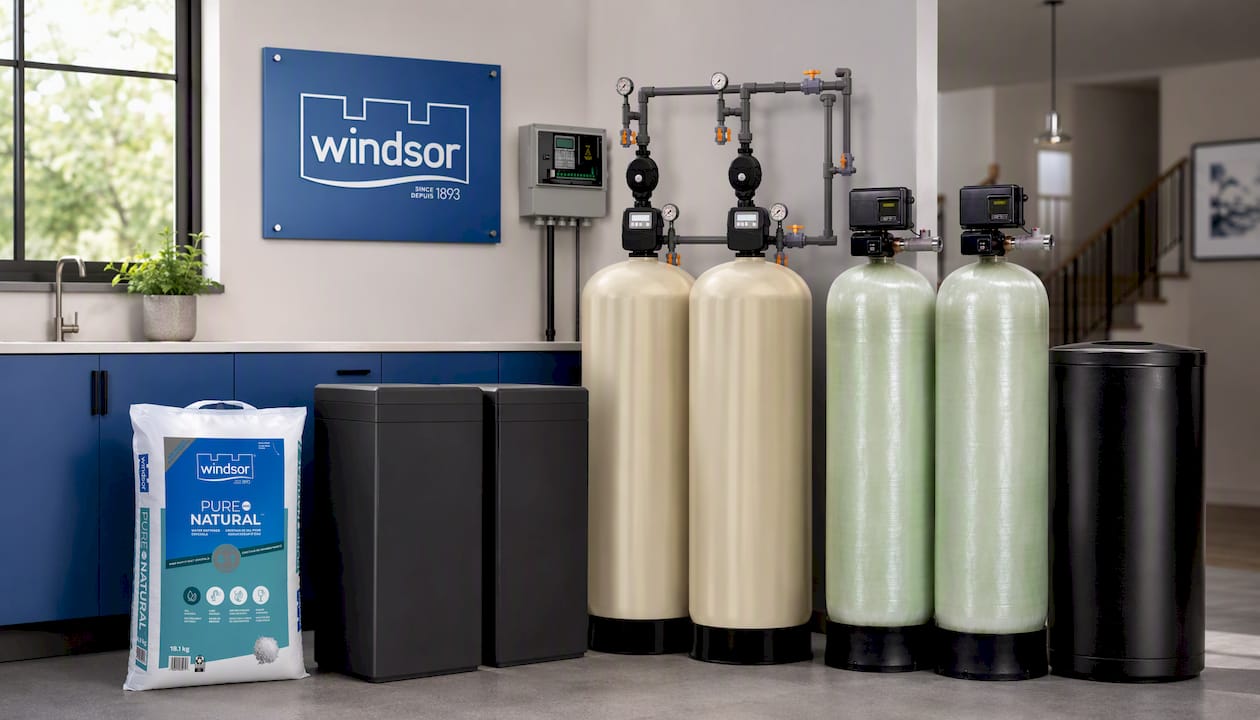
If your current softener just needs feeding, Windsor Pure Natural Water Softener Salt is a solid, reliable choice for keeping resin performing the way it should. Homeowners replacing an undersized or failing unit often land on the 75K Progressive Duplex Water Softener, a system built for typical household demand without constant regeneration cycles. Larger households, hobby farms, or small businesses dealing with heavier daily water use should look at the Excalibur Duplex 300 K Commercial Water Softener, which handles higher volume without falling behind. Book your free in-store test or browse the full product lineup at Pure Wave Water to get matched with the right system the first time.
Next step: Want a local result before choosing equipment? Book a free water test and bring a fresh sample to Pure Wave Water.
Sources
FAQ
What is the most accurate way to test water hardness at home?
A titration (drop count) kit gives the most precise home reading and is the method to use before sizing a water softener. Test strips give a quick range, and a soap test only tells you whether the water is hard at all.
How do I convert mg/L to grains per gallon?
Divide the mg/L (or ppm) value by 17.1. For example, 250 mg/L of hardness is about 14.6 grains per gallon.
What level of water hardness is considered hard?
A common classification treats 0 to 60 mg/L as soft, 61 to 120 mg/L as moderately hard, 121 to 180 mg/L as hard and anything above 180 mg/L as very hard. In grains per gallon, that is roughly above 7 gpg for hard and above 10.5 gpg for very hard water.
Does Pure Wave Water test water hardness for free?
Yes. You can bring a sample to our Georgetown store for a free basic in-store water test, which checks hardness along with iron, TDS, pH and chlorine. Bacterial testing such as E. coli and total coliform requires an accredited laboratory.
How often should I test my water hardness?
On city water, check your municipality’s annual report and retest if your supply changes or scale suddenly gets worse. On a private well, test at least once a year and whenever the taste, staining or scale changes. Always test before buying or resizing a softener.

Pure Wave Water shares educational content about water treatment, water softeners, reverse osmosis systems, UV purification, and filtration solutions. Our guides help readers understand water quality concerns, explore treatment options, and make informed decisions about their water treatment needs.